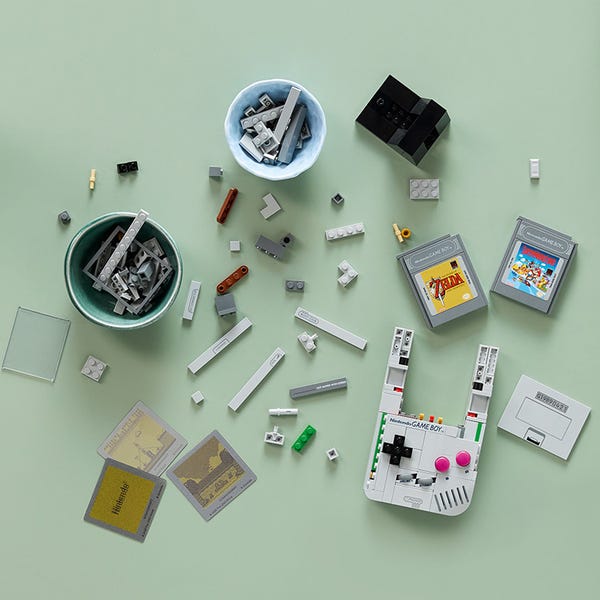
Master the art of building your LEGO Game Boy with our comprehensive guide. From preparation tips to advanced techniques, we'll help you create the perfect nostalgic masterpiece.
Build the main body framework and internal structure. This stage establishes the Game Boy's proportions and stability.
Construct the iconic LCD screen area with its distinctive border and proportions. Attention to detail is crucial here.
Build the directional pad with its functional pressing mechanism. This is one of the most intricate parts of the build.
Create the A and B buttons with their distinctive red coloring and tactile feedback mechanisms.
Install the smaller control buttons with proper spacing and alignment to the original design.
Add the speaker grille and other authentic details that make the Game Boy recognizable.
Build both Super Mario Land and Zelda: Link's Awakening cartridges with authentic label details.
Complete the build with final structural elements, logo placement, and quality checks.
When building the D-pad and button mechanisms, ensure all pieces are firmly pressed together. The tactile feedback depends on proper assembly tension. Test each button after installation.
Pay close attention to gray variations. Some pieces may look similar but have different shades. Sort grays carefully to maintain the authentic color scheme throughout the build.
The internal framework is crucial for stability. Don't rush the foundation stages - they support all the interactive elements and determine the final build quality.
The screen area requires precise alignment. Use the instruction manual's measurement guides to ensure proper positioning relative to the buttons and overall proportions.
Test the cartridge slot fit frequently during construction. The Game Paks should slide in smoothly but securely. Adjust internal spacing if needed.
Take photos at each major stage. This helps with troubleshooting and creates a personal record of your building experience. Share your progress online!
Cause: Incomplete connection in the button mechanism assembly.
Solution: Disassemble the button area and check that all Technic pins are fully inserted. Ensure spring mechanisms are properly aligned. The buttons should have slight resistance when pressed.
Prevention: Press all pieces firmly during assembly and test functionality at each step.
Cause: Cartridge slot dimensions are slightly off due to assembly errors.
Solution: Check the internal slot construction step-by-step. Look for misaligned pieces or incorrect spacing. The slot should allow smooth insertion with slight resistance.
Tip: Build one cartridge first and test fit frequently during main unit construction.
Cause: Foundation pieces weren't aligned properly in early building stages.
Solution: This often requires partial disassembly back to the base structure. Check that the foundational framework is square and level before rebuilding the screen area.
Prevention: Use a flat surface and check alignment frequently during foundation stages.
First Step: Double-check your sorting - pieces may be mixed in with similar colors.
Verify: Compare against the official parts list in the instruction manual.
Contact Support: If pieces are genuinely missing, contact LEGO customer service for free replacement parts. Keep your receipt and set number (72046) ready.
Cause: Internal connections may not be fully secured.
Solution: Check all connection points, especially where different sub-assemblies join. Press firmly to ensure pieces are fully connected. The finished model should feel solid.
Note: While display-focused, the model should withstand gentle handling and button pressing.